- Valentine's Day
- Photo PrintsNew!
- Photo Magnets
- Photo Books
- Wall ArtNew!
- Calendars
- Accessories
- Occasions
- Magazine

Have you been planning to take photos for a long time? And what about decorating the wall with them? Thanks to a simple online editor, it only takes a few minutes to create a photo image. Turn white walls into a photo gallery quickly and easily!
Would you like to keep your favorite experiences nearby? Turn them into pictures on the wall and create yourself a home gallery. You can develop large formats and posters with photocollages, which we print on high-quality photo paper. But if you want your photos to survive unscathed for many years, we recommend wall art prints from your photos, in which the photo paper is stuck to a sturdy plastic Forex board so it cannot bend or crease. Where to start?

Do you want to have wall art for each photo, or have more photos on one? It's up to you. In any case, we recommend to create a special folder for your photos to see if they go together. It's also a good idea to think about whether you want to stick the photos on the wall or hang them.
As the architect Robert Venturi said, "Less is a Bore" when he reacted to the well-known statement less is more.
If you want more photos, a photo poster is a clear choice! You can choose from two variants
In both cases, it is a large-format photograph 19¾×27½″ on high-quality satin photo paper Fujicolor Crystal Archive DP II. Unfortunately, no other number of photos is possible to print. The poster arrives wrapped in a cardboard box (not rolled) so that it cannot be damaged along the way. We recommend buying a wooden poster hanger.
🔅 Our tip: If you opt for a photo poster, you don't have to edit the photos into a square shape in advance - you can do it comfortably in our editor.


Are you into saying less is more? If you decide to print individual photos, you have two options:
They differ in available formats and material strength. However, they are always developed on high-quality photo paper in the maximum photographic quality. How to choose the right variant? The following overview will help you.


We want you to be as satisfied as possible with our products, so we only offer photo images for which we can guarantee maximum print quality. From our point of view, printing photos on canvas is not the optimal solution and it is a pity that customers often do not know that there are other - better options. The photo canvas is inherently embossed, which makes it impossible to achieve the same print quality as on the premium photo papers that we use in our wall art. They probably appeared because there was an interest in getting as close to a painting as possible (which in history has been overwhelmingly realized on canvas). However, the print will never replace the hand painting, which is why we decided to take the path of uncompromising quality and we are not offering photos on canvas.
Advantages of photos on a forex board:


Depending on the selected product, prepare a photo folder from which you will create wall art or a photo poster. Think carefully about what size you really want - a piece of paper that you cut into size and try on the wall will help. You can make wall art from Instagram or Facebook photos as well as from a computer or mobile phone.
Organize your photos in one place so you can choose them better. It is best to use high-quality photos straight from the camera or phone - but don't worry, if they are not quality enough, our system will alert you with an exclamation mark.
🔅 Our tip: In the case of a poster, try to choose photos that match in color. You can determine their order yourself, or have it randomly generated in the editor.


Edit photos for printing quickly and easily with our editor. What can be done?
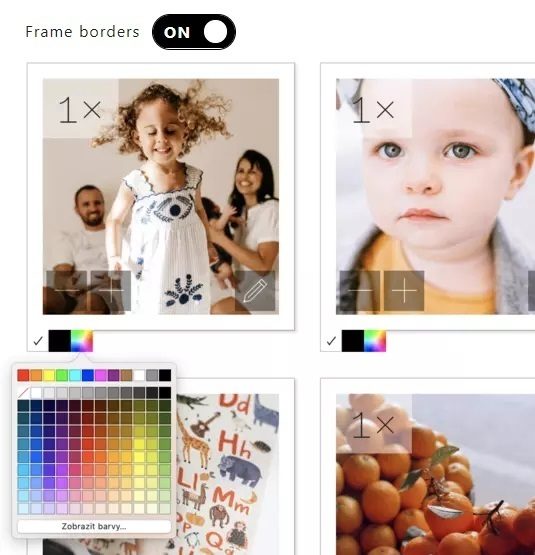
Don't be scared, the editor will automatically crop to the target size after uploading the photo, but you can easily adjust the crop using the pencil icon.


Before adding the goods to the basket, the system will ask you if you want to check the cuts. Your photos are automatically uploaded to the output format, but you can always edit the cutout using the pencil buttons on each one. If you want to edit a product that you already have in your cart, just click on its name or pencil icon and send it back to the editor and change it. Then you can just look forward to a package that will arrive soon.


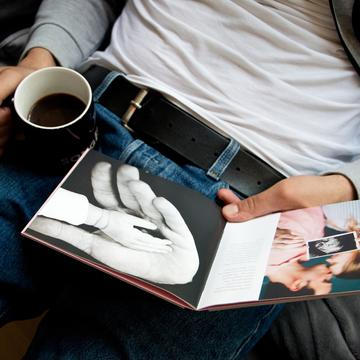
If you are still hesitant to choose, we can help you with the article How to display photos and pictures at home in which you will find the necessary inspiration. You already know how to create wall art, but we also have a manual on how to create the best photo book. That's not enough? You can still make photo magnets at home (DIY)!

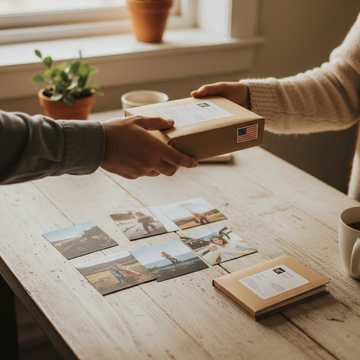
Due to new U.S. customs rules, we’ve had to introduce a $100 minimum order for American customers. Small pa...

Look back on 2025. How many moments are still stored on your phone, in the cloud, or on a hard drive — and ...

If you think mini photos are only good for your wallet or small photo album, you are wrong. We're going to ...

Colorful leaves, shiny chestnuts, pumpkins on every corner… Autumn is truly magical. It’s also the perfect ...

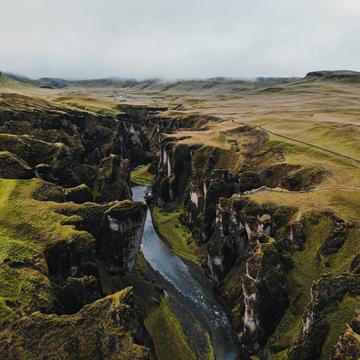
Iceland is a country that gets under your skin. A landscape full of contrasts, where glaciers meet fire and...

During the summer, we take a lot of photos and it happens that the best moments remain buried deep in the g...